 >
>
When it comes to car maintenance, ensuring that your headlights are in perfect working condition is crucial for your safety on the road. Headlights are your vehicle’s eyes at night, helping you navigate through darkness, adverse weather, and low-visibility conditions. Proper headlight installation not only improves your driving experience but also enhances the overall aesthetic appeal of your vehicle.
If you’re a beginner looking to replace or install your headlights for the first time, this guide will walk you through the entire process step by step. We’ll break down the tools you’ll need, the different types of headlights available, and the installation process itself. By the end of this article, you’ll be equipped with the knowledge to safely and efficiently install headlights on your car, whether you’re upgrading your old ones or simply replacing a broken bulb.
Understanding Headlight Types: Halogen vs. HID vs. LED
Before diving into the installation process, it’s essential to understand the types of headlights you’ll encounter in the automotive market. Halogen, HID (High-Intensity Discharge), and LED (Light Emitting Diode) are the three most common headlight technologies today. Each comes with its own unique features and benefits.
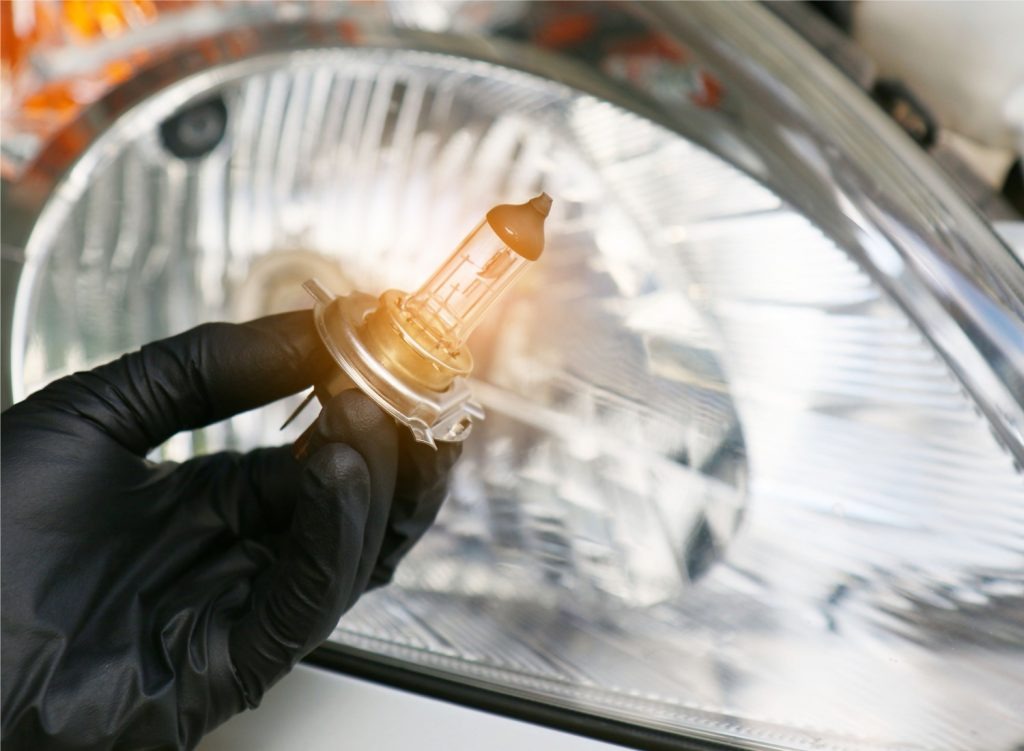
Halogen Headlights
Halogen headlights are the most traditional and widely used type of headlights. They consist of a tungsten filament and a halogen gas, which creates light when electricity passes through the filament. Halogen bulbs are inexpensive, widely available, and relatively easy to replace, making them a popular choice for budget-conscious drivers.
HID Headlights
HID headlights offer a brighter and more intense light output than halogen bulbs. They work by passing an electrical current through a gas-filled chamber, creating a more powerful beam. HID lights are known for their cooler light (often bluish in color) and superior brightness, making them ideal for night driving or foggy conditions. However, they tend to be more expensive and may require additional components such as ballasts for proper operation.
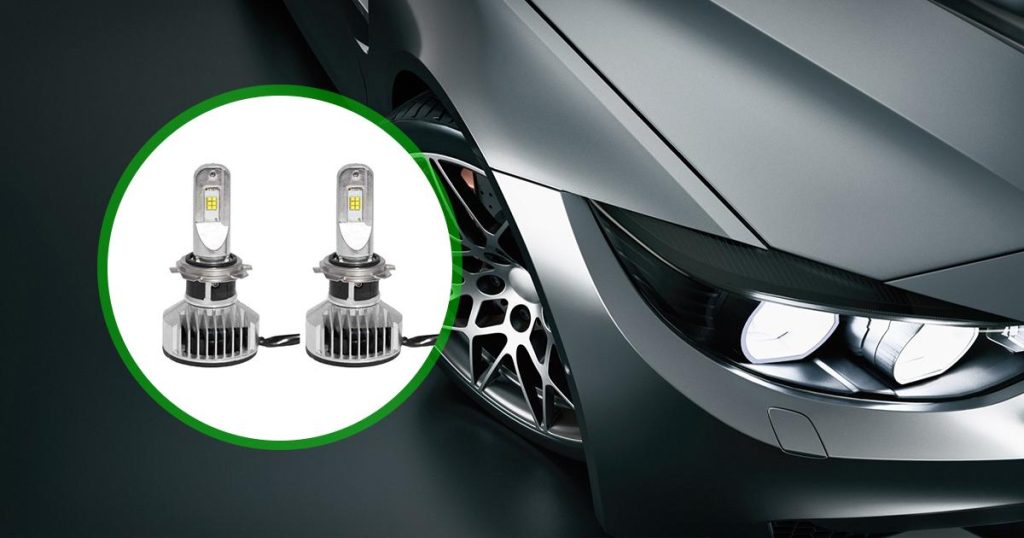
LED Headlights
LED headlights are a modern, energy-efficient alternative to halogen and HID bulbs. These lights emit bright white or blueish light and are highly durable, lasting significantly longer than both halogen and HID options. Although LED headlights are more costly upfront, they provide excellent visibility while consuming less power and generating less heat. Their long lifespan and energy efficiency make them an ideal choice for drivers looking for a sustainable lighting solution.
Tools and Materials You Will Need
Before starting the installation process, it’s crucial to gather all the necessary tools and materials. Here’s a comprehensive list of items you’ll need to get started:
- Replacement headlight bulbs(ensure they match your vehicle’s specifications)
- Screwdriver(typically Phillips head)
- Socket wrench set
- Rubber gloves(to avoid touching the glass of halogen bulbs)
- Flashlight(for visibility, especially in low-light conditions)
- Ratchet wrenchor socket driver
- Vehicle owner’s manual(to reference the headlight assembly and bulb specifications)
Step-by-Step Guide to Headlight Installation
Installing headlights can seem intimidating at first, but with the right tools and approach, the process becomes straightforward. Below is a detailed, step-by-step guide to help you replace or install your headlights correctly.
1. Turn Off Your Vehicle and Prepare the Area
Before beginning any work on your vehicle, ensure the engine is off, and the keys are removed from the ignition. For added safety, disconnect the vehicle battery to avoid any electrical mishaps. Park your vehicle on a level surface, and ensure the area is well-lit, especially if you are working at night.
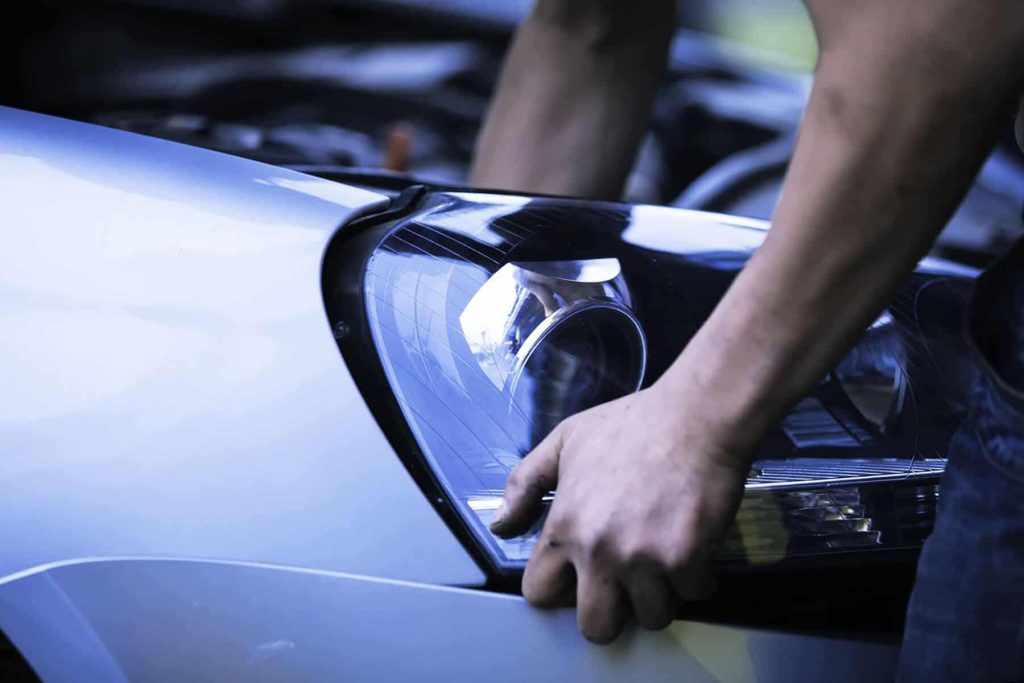
2. Open the Hood and Locate the Headlight Assembly
The first step in the process is to open the car’s hood and locate the headlight assembly. Depending on the make and model of your vehicle, this may involve removing screws, bolts, or covers that secure the headlight unit in place. Consult your owner’s manual to identify the exact location of the headlight assembly.
3. Remove the Old Headlight Bulb
After gaining access to the headlight assembly, it’s time to remove the old bulb. First, disconnect any electrical connectors that are attached to the bulb. This may involve gently pulling apart the connector or pressing a release tab. Be cautious not to damage the wires or connectors.
Next, carefully remove the bulb from its housing. Depending on the type of headlight, you may need to twist the bulb counterclockwise or pull it directly out of the socket. If the bulb is stubborn, use a socket wrench to loosen any fasteners.
4. Install the New Bulb
Now that the old bulb is out, it’s time to install the new one. For halogen bulbs, be sure to wear rubber gloves to avoid touching the glass. Oil from your fingers can cause the bulb to burn out more quickly. Insert the new bulb into the headlight socket and turn it clockwise to secure it in place.
For HID or LED bulbs, follow the same procedure, but be sure to attach any required components, such as the ballast for HID headlights or the driver for LED bulbs. Double-check that everything is correctly aligned before proceeding.
5. Reconnect Electrical Connectors
Once the new bulb is securely installed, reconnect the electrical connectors. Make sure the connections are tight and secure to prevent any issues with electrical power.
6. Test the New Headlights
Before reassembling the headlight unit, it’s essential to test the new headlights to ensure they are functioning correctly. Turn on your vehicle and check the headlight alignment. If the lights appear misaligned, you may need to adjust them to ensure they illuminate the road ahead efficiently. Most vehicles have adjustment screws located near the headlight assembly that allow you to fine-tune the beam angle.
7. Reassemble the Headlight Unit
Once you’ve confirmed that the new headlights are working correctly, you can reassemble the headlight unit. Replace any screws, bolts, or covers that were removed earlier. Ensure everything is securely fastened to prevent any rattling or shifting while driving.
8. Clean the Headlights
Finally, take a moment to clean the headlight lenses. Over time, headlights can become cloudy or foggy due to environmental factors. Regular cleaning can improve both the appearance and performance of your headlights. Use a soft cloth and a mild cleaner to wipe away any dirt, dust, or grime that has accumulated.
Tips for Maintaining Your Headlights
To extend the lifespan of your newly installed headlights and maintain optimal visibility, it’s essential to follow a few maintenance tips:
- Regularly check the headlights: Periodically inspect your headlights to ensure they are working correctly. Replace any bulbs that have dimmed or burned out.
- Clean the lenses: Use a gentle cleaning solution to remove dirt and grime from the headlight lenses. This will help maintain their brightness and clarity.
- Adjust the alignment: If your headlights are misaligned, they can create dangerous driving conditions. Regularly check and adjust the alignment to ensure the light is focused on the road.
Conclusion
Installing new headlights is an easy and cost-effective way to improve the safety and aesthetics of your vehicle. Whether you choose halogen, HID, or LED headlights, proper installation is key to ensuring that your car’s headlights provide maximum illumination and last as long as possible. By following the steps outlined in this guide, you’ll be able to confidently replace or install your headlights and enjoy improved visibility on the road.
Remember, when dealing with any part of your vehicle, safety should always come first. If you’re ever in doubt, don’t hesitate to seek the help of a professional mechanic to ensure that your headlights are installed correctly and safely.
At QPLCAR.com, we offer premium headlight products and accessories to help make your installation process as easy as possible. Explore our selection today and give your car the upgrade it deserves!